Elastic band bracelets, those vibrant, colorful creations that have captivated generations, represent more than just a fun craft. They are a testament to human creativity, a symbol of friendship, and a surprisingly versatile medium for self-expression. From simple designs to intricate patterns, the world of elastic band bracelets offers endless possibilities for exploration and skill development. This comprehensive guide dives deep into the art of making these bracelets, covering everything from basic techniques to advanced designs, troubleshooting common issues, and understanding the cultural significance behind this enduring craft. Whether you’re a seasoned crafter or a curious beginner, this guide will equip you with the knowledge and skills to embark on your own bracelet-making journey. The resurgence of interest in handmade crafts, particularly those with a nostalgic appeal, makes learning to make elastic band bracelets a valuable skill in today’s increasingly digital world. It’s a cost-effective hobby, a great way to connect with others, and a pathway to creating personalized gifts or even small-scale entrepreneurial ventures. This post will explore the techniques, materials, designs, and considerations involved in mastering the art of elastic band bracelets.
Getting Started: Essential Materials and Tools
Choosing Your Elastic Bands
The foundation of any successful elastic band bracelet lies in the quality of your bands. Rainbow Loom bands are a popular choice, known for their vibrant colors and reliable elasticity. However, many other brands offer similar products, some even boasting unique textures or finishes. Experimenting with different brands allows you to discover your preferences in terms of stretch, texture, and overall feel. Consider factors like the band’s thickness; thinner bands offer greater flexibility for intricate designs, while thicker bands provide more durability for robust bracelets.

When selecting bands, pay attention to the material. Most are made from latex rubber, but some are made from alternative materials like silicone, offering different properties. Latex bands tend to be more stretchy and durable, but some individuals may have latex allergies, requiring the use of alternative materials. Always check the packaging for material information and potential allergens.
Essential Tools of the Trade
While the core materials are simple, having the right tools can significantly enhance your bracelet-making experience. A loom is the most crucial tool. Rainbow Looms are iconic, but various other looms exist, each with its own advantages and disadvantages. Some looms are designed for specific techniques, while others offer greater versatility. Consider the complexity of the designs you plan to create when choosing your loom.
Beyond the loom, you’ll need a hook. This tool is invaluable for manipulating individual bands, particularly when working on intricate patterns. A clip helps secure the bands in place, especially when starting or finishing a bracelet. Lastly, you might find scissors useful for trimming excess band lengths and ensuring a clean finish.
Basic Techniques: Mastering the Fundamentals
The Simple Single-Band Bracelet
Before tackling complex designs, mastering the fundamentals is key. The simplest bracelet involves creating a continuous loop using a single band. This is a great starting point for beginners, allowing them to familiarize themselves with the feel and stretch of the elastic bands. The process involves creating a knot, carefully tightening it, and then creating an interlocking loop. This basic technique is foundational for more advanced styles, helping to build hand-eye coordination and dexterity. It’s a perfect opportunity to practice the handling of the bands and to feel their resistance and elasticity.
The Fishtail Bracelet: A Step Up in Complexity
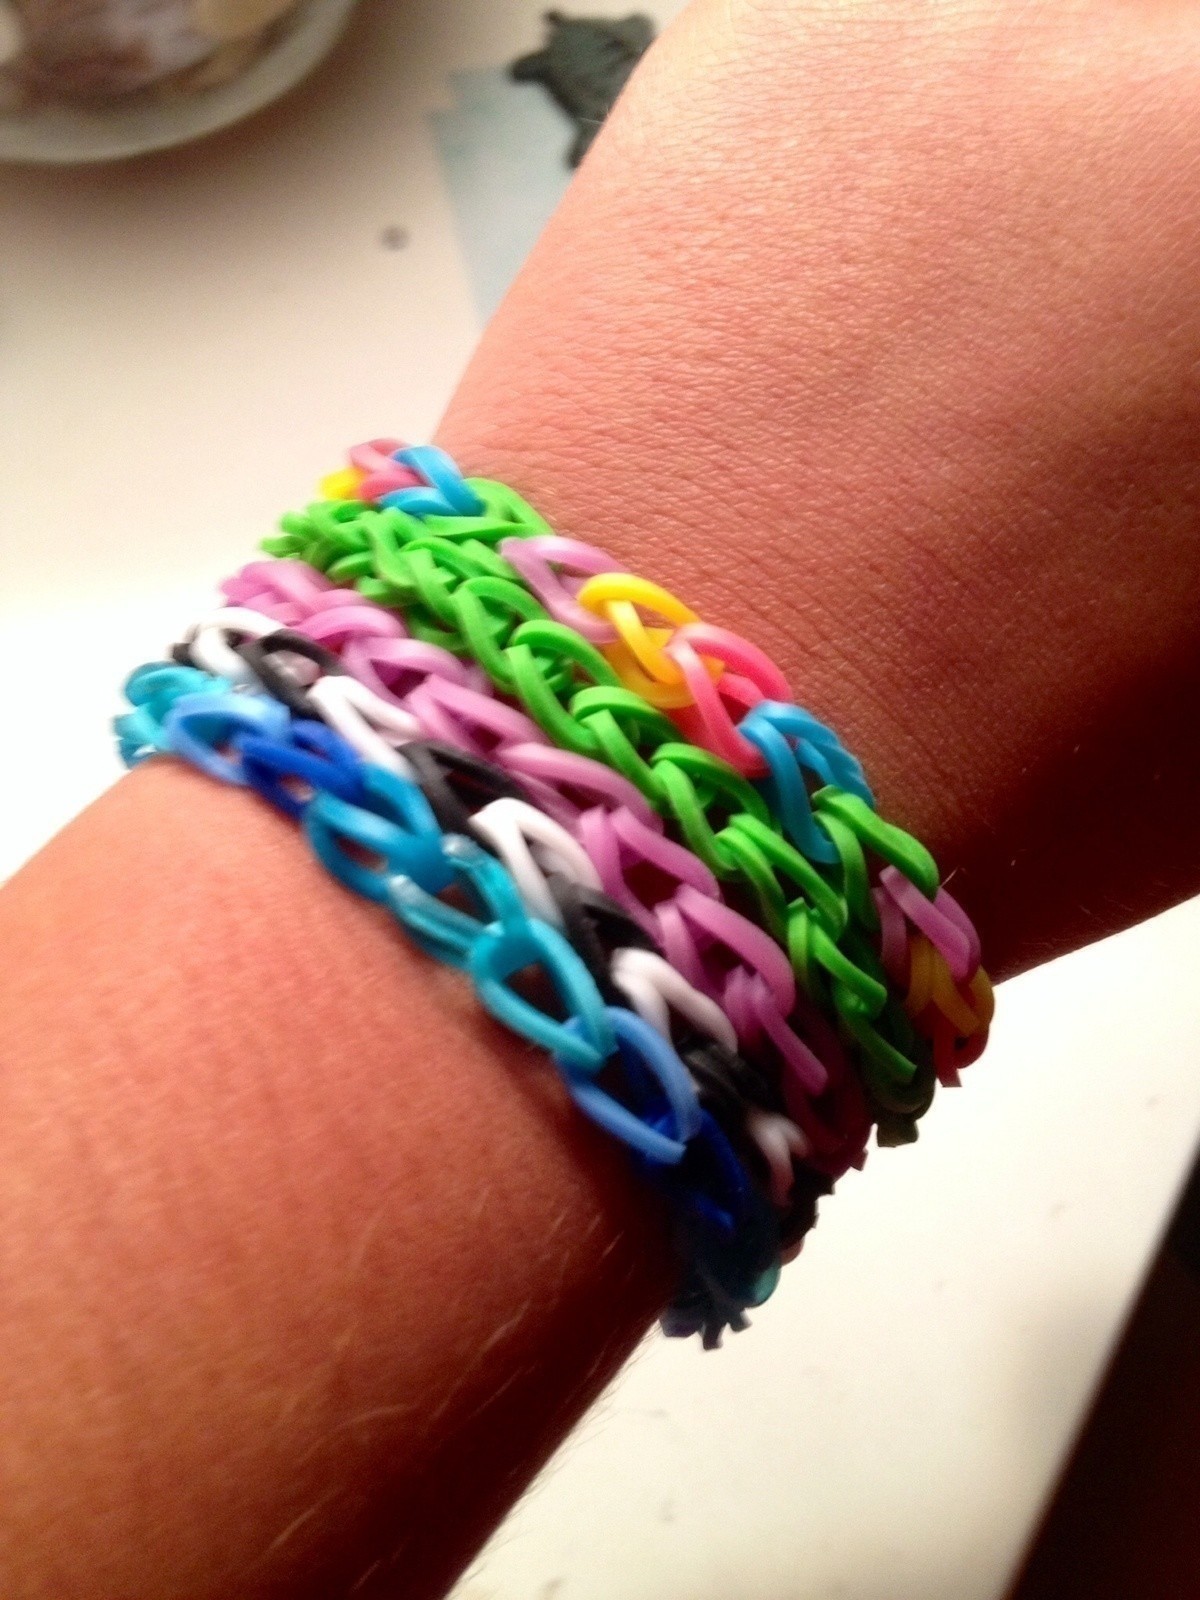
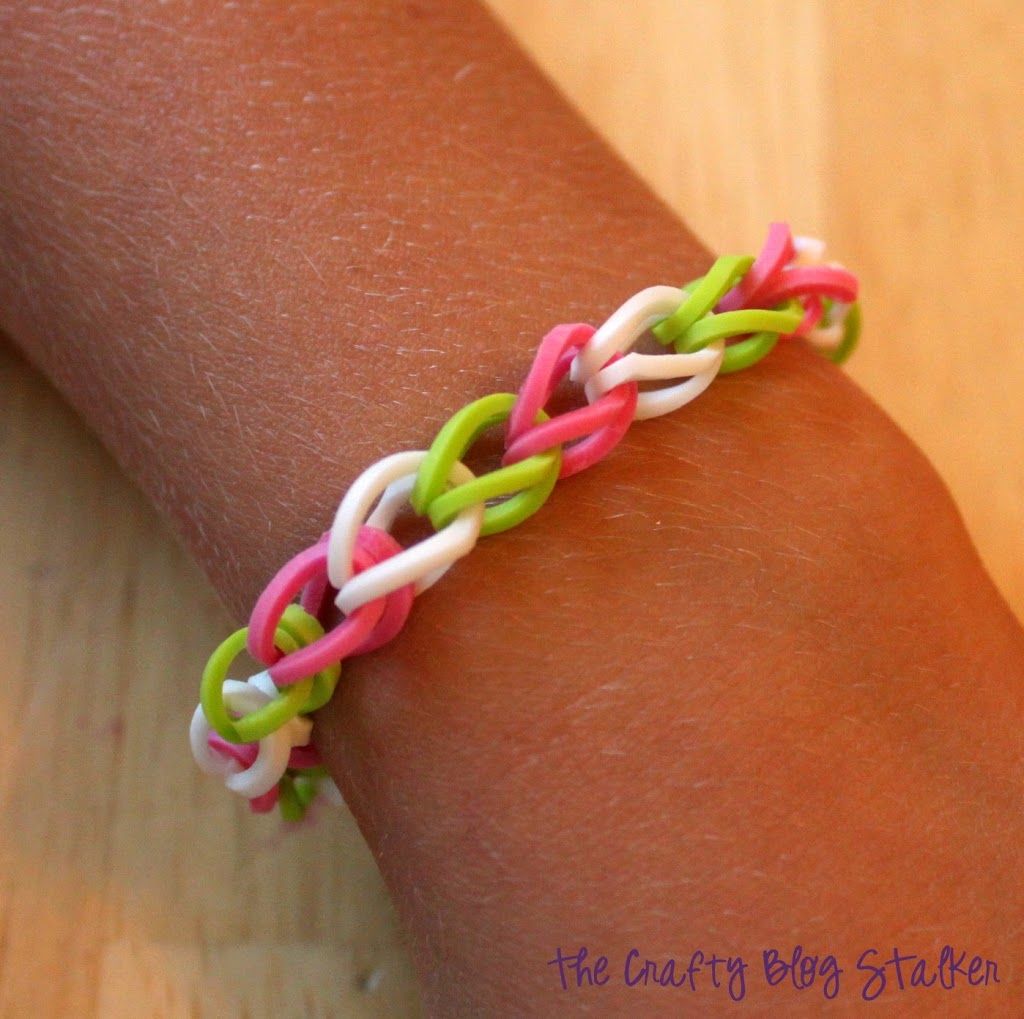
Once you’ve mastered the single-band bracelet, it’s time to progress to the fishtail technique. This popular design involves using two or more bands to create a braid-like effect. It requires a slightly more complex approach than the single-band design, introducing the concept of alternating and weaving bands to create a distinct pattern. The fishtail method introduces a level of design complexity, allowing for creative color combinations and variations in width. Mastering the fishtail technique opens up a world of creative possibilities.
Understanding the Weaving Pattern
The fishtail method relies on a specific weaving pattern, with bands alternating between the two sides of the bracelet. It’s crucial to understand this pattern to create a consistent and aesthetically pleasing bracelet. Practice makes perfect; don’t be discouraged if your first few attempts aren’t flawless. The key is to maintain a steady pace and a consistent tension on the bands to avoid unevenness or gaps in the design.
Advanced Techniques: Exploring Intricate Designs
The Chevron Bracelet: A Geometric Masterpiece
The chevron bracelet showcases a striking geometric pattern, requiring a more advanced understanding of band manipulation. It introduces the concept of creating specific angles and shapes within the bracelet, leading to a more visually complex and impressive result. This design requires patience and precise movements, but the final result is well worth the effort. The chevron pattern allows for creative variations in color combinations, creating unique and visually striking bracelets.
Incorporating Charms and Beads: Adding Personality
Adding charms and beads elevates your bracelets from simple crafts to personalized accessories. This technique introduces new elements of design, allowing you to customize your creations to reflect your individual style and personality. A variety of charms and beads are available, ranging from simple shapes to intricate designs, allowing for unlimited customization. The process involves carefully integrating the charms and beads into the weaving process, ensuring they are securely fastened and don’t interfere with the overall integrity of the bracelet.
Choosing the Right Charms and Beads
The selection of charms and beads is crucial for creating a cohesive and visually appealing bracelet. Consider the overall color scheme and design of the bracelet when choosing your embellishments. The size and weight of the charms and beads should also be considered, as they can impact the overall comfort and wearability of the bracelet.
Troubleshooting Common Issues and Tips for Success
Dealing with Snagged or Broken Bands
Snagged or broken bands are common occurrences in bracelet making. Knowing how to address these issues efficiently is essential for maintaining momentum and preventing frustration. Techniques for seamlessly repairing or replacing broken bands will be covered here, ensuring that minor setbacks don’t derail the entire project. Learning to anticipate potential problems and having a plan for addressing them is crucial for success in bracelet making.
Maintaining Consistent Tension
Maintaining consistent tension throughout the bracelet-making process is crucial for creating a well-proportioned and aesthetically pleasing final product. Uneven tension can result in a bracelet that is too loose or too tight, potentially affecting its comfort and durability. Practical tips for maintaining consistent tension will be addressed, including techniques for adjusting the tension as needed and strategies for ensuring even distribution of force.
Choosing the Right Loom
The choice of loom can significantly impact the ease and efficiency of the bracelet-making process. Different looms are designed for different techniques and levels of complexity. Choosing the right loom is essential for maximizing efficiency and minimizing frustration. This section will provide guidance on selecting the most appropriate loom based on skill level, desired designs, and personal preferences.
Beyond the Basics: Expanding Your Bracelet-Making Skills
Exploring Different Loom Types
While Rainbow Looms are widely recognized, numerous other loom types exist, each offering unique capabilities and advantages. Exploring different loom types allows for greater versatility in design and technique. This section will delve into various loom types, highlighting their respective strengths and weaknesses to guide users in selecting the most suitable option for their needs.
Advanced Patterns and Designs
The world of elastic band bracelets extends far beyond basic patterns. Many intricate and visually stunning designs exist, requiring advanced techniques and a deep understanding of band manipulation. This section will introduce more complex patterns, providing step-by-step instructions and guidance on mastering these advanced techniques.
Creating Custom Designs
Ultimately, the most rewarding aspect of bracelet making is the ability to create custom designs that reflect personal style and creativity. This section will provide a framework for designing original patterns, encouraging users to explore their creativity and translate their ideas into tangible creations.
Summary and Recap
Creating elastic band bracelets is a fun, rewarding, and surprisingly versatile craft. This guide has covered the essential materials, fundamental techniques, and advanced skills needed to create a wide range of bracelets. From the simple single-band bracelet to intricate chevron and fishtail designs, we’ve explored various methods and techniques. The key to success lies in mastering the basics, understanding the importance of consistent tension, and learning to troubleshoot common issues. Experimenting with different band colors, charms, and loom types opens up endless possibilities for creative expression. Remember, practice makes perfect, so don’t be discouraged by initial challenges. Embrace the learning process, and you’ll soon be creating beautiful and personalized bracelets for yourself and others.
- Mastering basic techniques is crucial before attempting complex designs.
- Consistent tension is essential for a well-proportioned bracelet.
- Troubleshooting common issues helps maintain momentum and prevents frustration.
- Exploring different loom types expands design possibilities.
- Creating custom designs allows for unique self-expression.
Frequently Asked Questions (FAQs)
How do I choose the right size elastic bands for my bracelet?
The size of the elastic bands you choose depends on the desired thickness and look of your bracelet. Thinner bands are suitable for intricate designs, while thicker bands create a more robust and durable bracelet. Experiment with different band sizes to find your preference.
What should I do if my bracelet is too tight or too loose?
If your bracelet is too tight, carefully loosen the bands by adjusting the tension during the weaving process. If it’s too loose, you might need to add more bands or adjust the weaving pattern to create a tighter fit. Sometimes, re-weaving sections is necessary.
How can I prevent my elastic bands from breaking?
Avoid pulling the bands too forcefully during the weaving process. Use a hook to gently manipulate the bands and avoid sharp bends or excessive stretching. Store your bracelets in a cool, dry place to prevent premature deterioration of the elastic.
Are there any safety precautions I should be aware of when working with elastic bands?
While generally safe, keep small elastic bands away from young children to prevent choking hazards. Some individuals may have latex allergies; if you experience any skin irritation, discontinue use and choose alternative materials.
Where can I find more advanced patterns and designs for elastic band bracelets?
Numerous online resources, including websites, blogs, and YouTube channels, offer a wealth of information on advanced elastic band bracelet designs. Searching for specific patterns or techniques will yield many tutorials and visual guides.


